I have missed you all. I have been busy with several things that have come up in life but I am back!
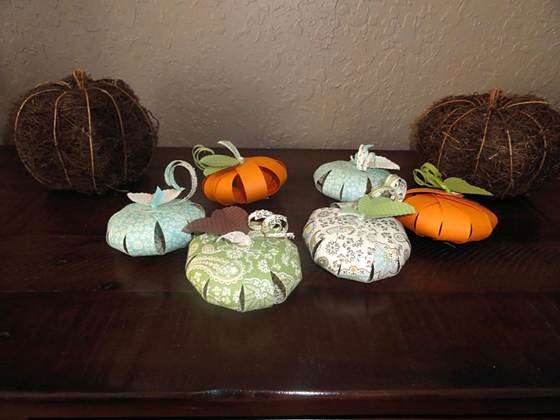
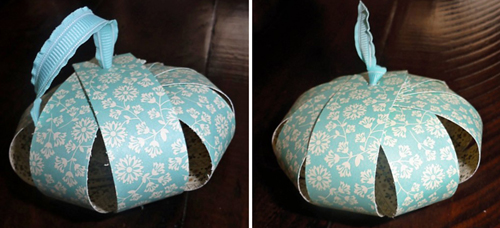
With the Fall season here and I just LOVE Fall I am putting up this DIY to make pumpkins. They are so easy and fun. You can make traditional orange but I just love using the Designer Series Paper and adding a little flair.
Supplies Needed for this DIY:
-Stampin UP Designer Series Paper (DSP) I used the Spice Cake in the Holiday Mini (124003)
-Coordinating Card stock
-Coordinating Ribbon pg. 194-195 Idea Book Catalog (IBC)
-Brads 104336
-Glue Dots 103683
-Stampin Marker/Pencil
-Crop a Dile 108362
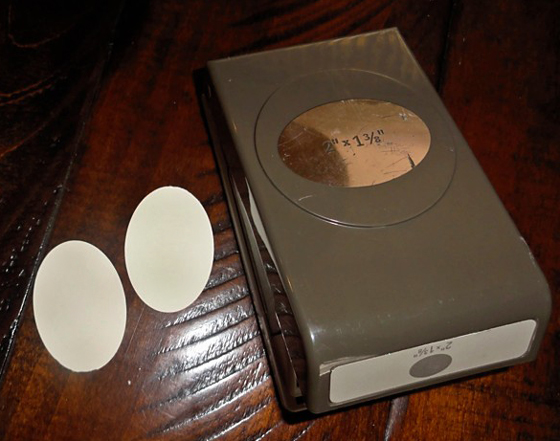
- Extra Large Oval Punch 119859
-Crimper 101618
Ok now that you have all your supplies Here we go...
1. Take your DSP and cut it to 5 1/2 x11
2. The cut out 11 1 inch pieces
3. Stack 10 and place one aside for later use for the stem of your pumpkin

4. Take your crop a dile and make a hole punch in each end of your stack of DSP

5. Now cut a piece of ribbon about 8 inches long and place one of your brad in one end. The ribbon will be the stem of your pumpkin.
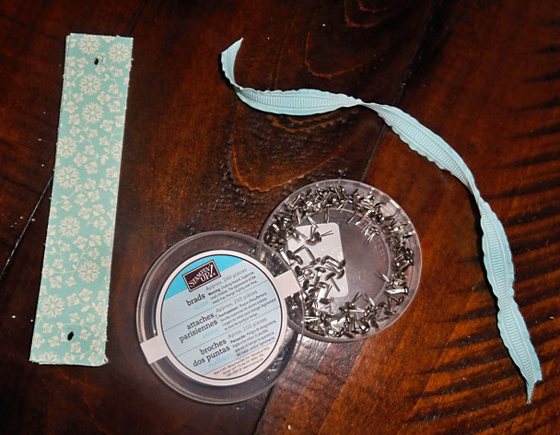
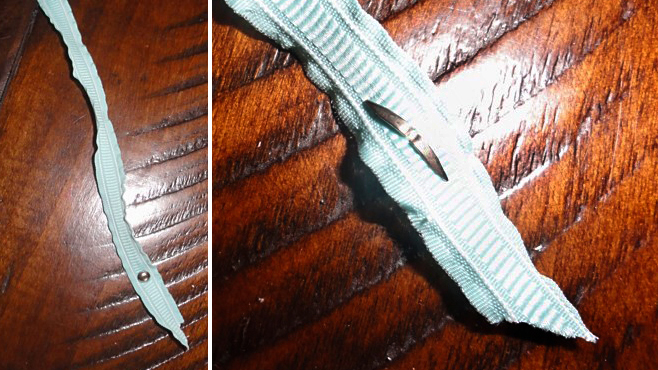
6. Decide which side of your DSP that you would like on the outside. Put the ribbon through both the top and bottom holes of the paper with the side you choose on the outside.
7. Pull down the top part of the paper as much as you like to determine the shape.
8. Then start to fan our your pieces.
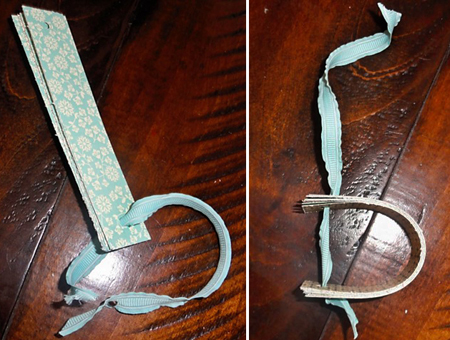
9. Once you have fanned out your pieces tie a knot in the ribbon and cut on an angle.
10. Now take coordinating Card stock and make your leaves. Punch out two large ovals.
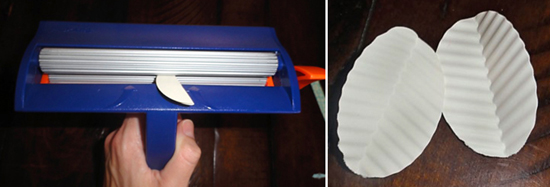
11. Fold your ovals in half and run through the crimper
12. Take your last strip of DSP and cut 3 skinny strips down to the bottom leaving about 1 inch
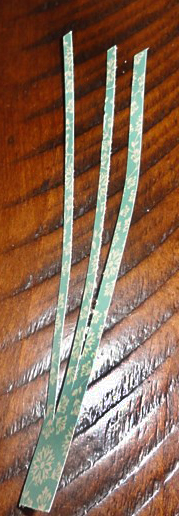
13. Take a stampin Marker or pencil if you don't have a marker and roll each strip around in and it will leave a nice curl.
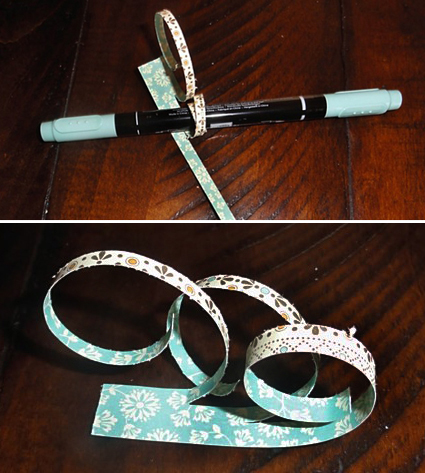
14. Glue dot each leave together and then the stem on the bottom.
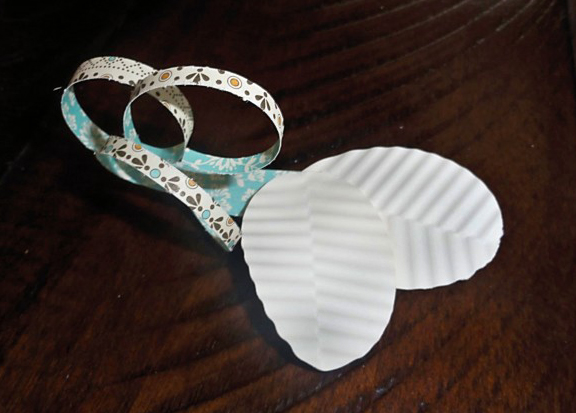
15. Finally, glue dot your leaves and stem to your pumpkin
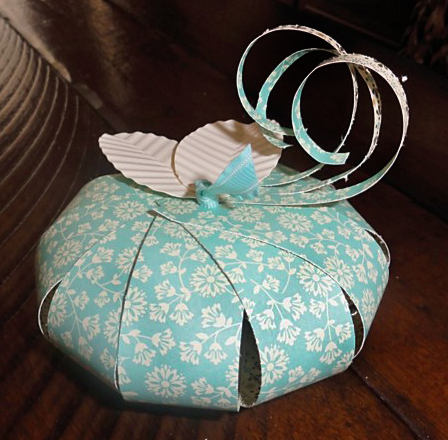
They are so cute and easy before you know it you will have made a whole pumpkin patch!!!
My girlfriend Jessica Truly also posted my DIY on her website so check it out.
It is called Storyboard Wedding and it is a gorgeous website of great ideas for your wedding or any other special events that you may be having come up in your life. Amazing DIY highlights from your engagement to dresses, cake and decor to make your big day really special. Thanks again Jessica!
Have a great Day and see you soon.
Mitzi